
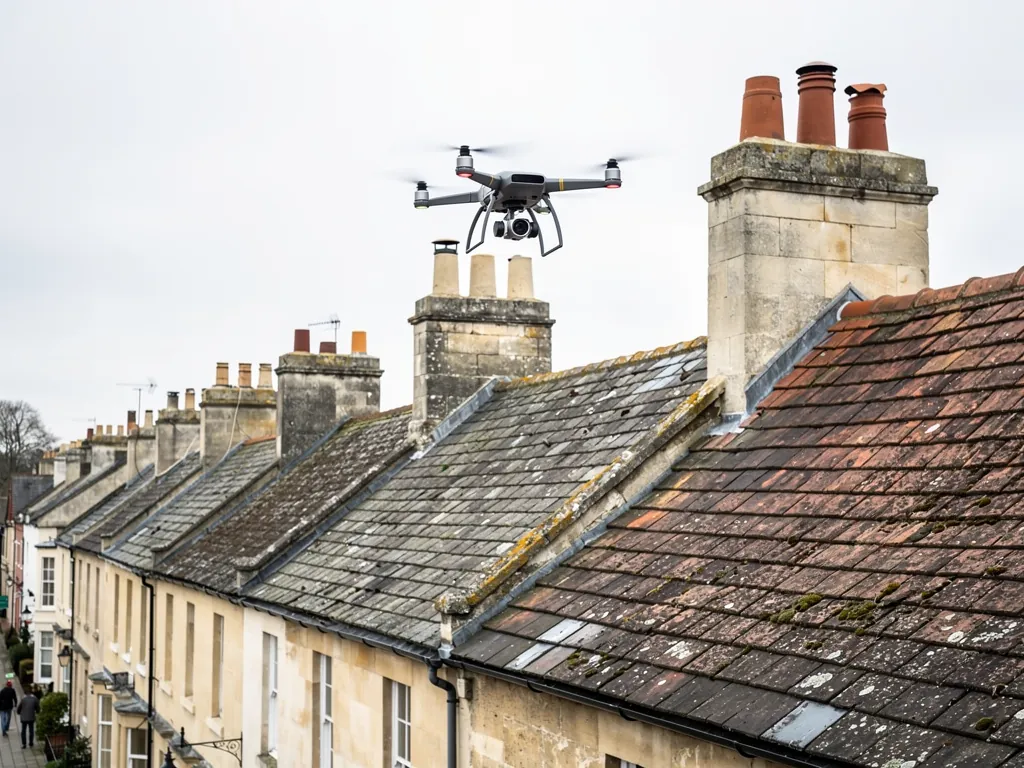
A small drone flying above a Bath terrace roof with chimney stacks

Roof inspections and surveys in Bath

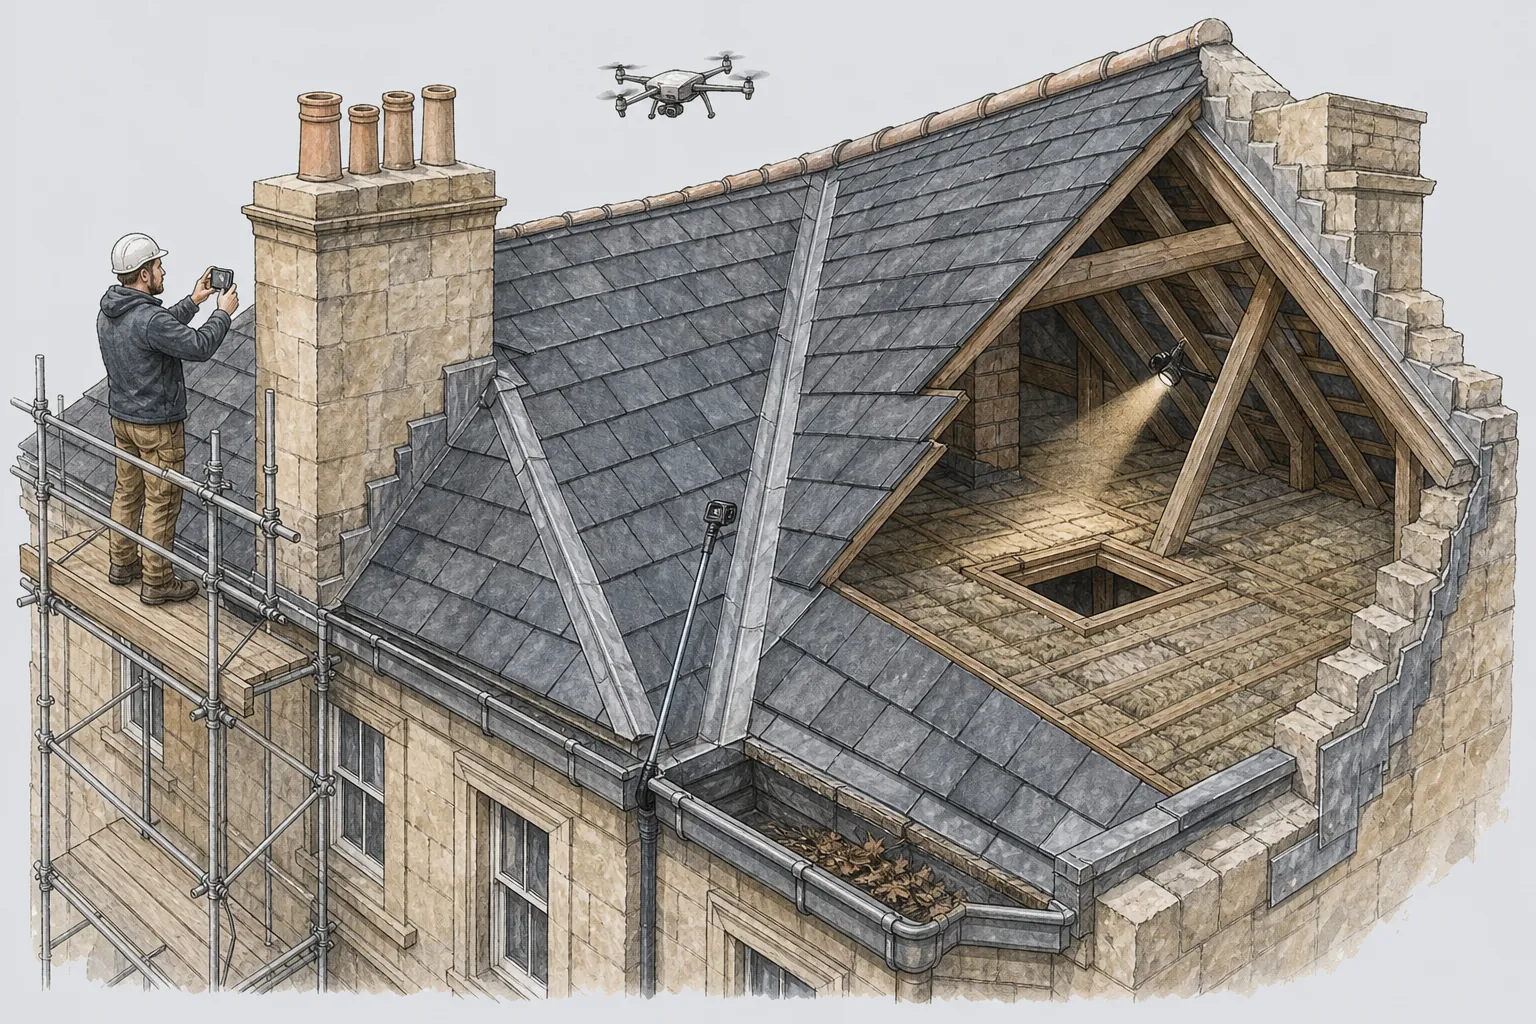
A roof inspection is a close look at the whole covering, its metalwork and the timbers beneath, followed by a written report with photographs. We carry them out for homeowners, buyers, landlords and managing agents throughout Bath and in every town up to 30 road miles away.

What we do

What a roof inspection covers

Most inspections are booked for a house purchase, a tenancy or a block of flats. Each leads to a slightly different report, though the roof is read in the same order.

Condition surveysA walk-round of every slope, ridge, valley, gutter and flashing, with the loft checked from below, ending in a report that lists faults by location.
Pre-purchase checksA second look at a roof you are buying, especially after a homebuyer report that flagged it or could not see it, so you know what you are taking on.
Landlord and block surveysA record of the roof for a let property, a block of flats or a commercial unit, with photographs and findings the managing agent can act on.

Signs to watch

Reasons to have your roof inspected

  • You are buying a house and the roof was only seen from the ground
  • Stains, flaking paint or damp have appeared on an upper ceiling
  • Slates or tiles are in the gutter after a storm
  • You manage a let property or a block and need a record
  • The roof is old and you do not know how long it has left
  1. 1

    Agree what is being checked

    We confirm the address, the roof type, how it can be reached and whether you want a drone, a pole camera or a walk on the roof.

  2. 2

    Inspect outside and in

    Every slope, junction and gutter is checked and photographed, then the loft is entered to read the roof from underneath.

  3. 3

    Write it up clearly

    Findings go into a numbered report with photographs, a note of what could not be seen and a view on what is urgent.

  4. 4

    Talk it through

    We go through the report with you by phone or in person, so the next step is yours to choose.

The inspection, part by part

Inside a roof inspection: what we look at, and why

A roof fails at its joints and edges long before its field of slates or tiles gives out. Six parts show most of what an inspection needs to find.

  1. 1The ridge from above
  2. 2The chimney
  3. 3Valleys
  4. 4Gutters
  5. 5The loft
  6. 6Flashings

Part 1 of 6

The ridge from above

The highest line of the roof tells you about the structure below it, and it is hard to read from the street.

The ridge is the horizontal line where two slopes meet at the top. From the ground it looks like a thin dark line, and almost nothing can be judged from it. A proper inspection starts with a view from above, because that is where the first clues sit. There are three ways to get one: a drone, a pole camera and a person on the roof. Each has strengths and limits, and the right choice depends on the roof.

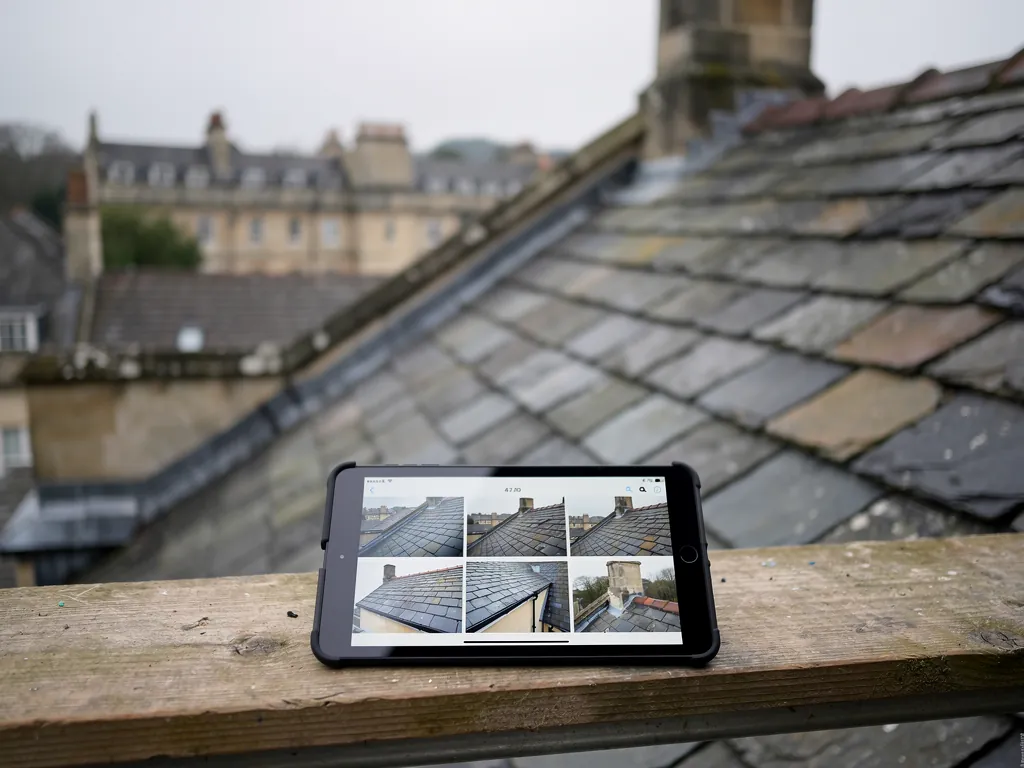
A drone flies over the roof and photographs every slope in detail, which suits tall buildings, steep or fragile roofs and large flat areas. It saves putting ladders against a roof where the covering is brittle, and the images can be zoomed in afterwards. A pole camera is a camera on an extendable pole, held at roof level from a ladder or from the ground. It reaches ridges and eaves cheaply and quickly, and works well on a low roof. Neither can touch, lift or test anything, and a drone cannot see a joint that faces away from the sky. Where the roof is safe to walk, we also go on it, because tapping a ridge tile or lifting a slate shows more than any lens.

What the ridge tells us

A sagging ridge line points to a problem with the timbers below: the ridge board, the rafters or a purlin that has dropped. A ridge with a wave in it over a short span needs a closer look from the loft. Loose or cracked ridge tiles show where the bedding has failed. Since BS 5534:2014, bedding mortar has not been trusted to hold ridge, hip and verge fittings by itself, so repairs add mechanical fixings. Clip-and-screw dry systems have their own test standard, BS 8612:2018. On an older roof we note whether the fixings are original or have been added, and whether the mortar has cracked away from the tile.

The ridge also shows where one roof joins another. A hip, which is the sloping ridge at the corner of a hipped roof, ends at a corner where tiles and bedding are cut to an angle, and that is a place where wind lifts the covering. The verge, the edge at a gable, is a similar weak point. We look at both from above before any ladder goes up.

What an aerial view cannot tell you

Photographs do not show whether a slate is soft, whether a nail has rusted, or whether a batten is rotten underneath. They also miss anything hidden by a neighbouring roof or a tree. A report should say directly what was and was not visible. We list what we could not reach, so a gap in the inspection is never mistaken for a clean bill of health.

£150 to £250

A standard roof inspection, as a typical UK range

£200 to £400

A drone roof inspection, as a typical UK range

£300 to £500

A thermal roof inspection, as a typical UK range

Figures: MyBuilder roof inspection cost guide, 2026

Our guides to drone roof surveys and pole-camera roof inspections explain what each shows and where it falls short. The roof survey cost page goes through the price ranges and what drives them.

Part 2 of 6

The chimney

A stack stands exposed on all four sides, and its mortar, flaunching and flashings take the worst of the weather.

A chimney stack is a tall piece of masonry, exposed to rain and wind on every side. It is also where the roof covering stops, so it needs metal flashings round the base to turn water away from the join. Because it sits so high, a stack is often looked at from the street and rarely from nearby. That is a pity, as it fails in several ways at once.

Mortar and masonry

The joints between stones or bricks wear back over the years, and open joints let water into the stack. Repointing in the wrong mortar can make this worse. On 7 Walcot Buildings the Trust's planning comments wanted lime mortar for repointing, so the old stonework could breathe, and warned that cement on a listed stack may have made the stone damage worse. A hard cement mortar traps moisture in softer stone, which then flakes behind the joint. On a survey we note the mortar type where we can tell, the depth of any joint loss, leaning or cracks, and any stone that has spalled.

Flaunching, pots and the cap

At the top of the stack, flaunching is the mortar that holds the pots in place and slopes down to shed water. It cracks with frost and heat, and when it lets go, water runs down into the flue and the stack. The pots themselves can crack or lean. A disused flue needs a cap that keeps rain out but lets air through, so the brickwork does not stay damp. We check for a cap and note the condition of each pot.

The base of the stack

Where the stack leaves the roof, the flashing is the main defence. Stepped flashings follow the slope up the side, with a back gutter behind the stack to carry water round it. Cracks in the lead, lifted edges and failed pointing in the chase, the groove cut in the masonry that holds the top edge of the flashing, are the usual findings. Inside the loft, a stack with a wet patch on the breast, or white salt marks, often explains a stain on the room below.

How we record it

A chimney report should photograph each face of the stack, the pots and the flaunching, with a note of what could be reached. If a stack looks unstable, we state that up front and recommend that the area below is kept clear until it is made safe.

Myth

If the chimney looks straight from the street, it is sound.

Fact

The failing parts are at the top and the base, where flaunching, pointing and flashings sit out of sight from the pavement.

Where an inspection finds trouble at the stack, our chimney repairs page describes the work, and lead roofing covers the flashings. For the report itself, the roof condition report shows how findings are set out.

Part 3 of 6

Valleys

A valley collects the water of two slopes, so a small flaw there sends a lot of water the wrong way.

A valley is the inside corner where two slopes run together. Both slopes drain into it, so it handles a heavier flow than any other line on the roof. It is also built with awkward cut tiles or slates along its edges, and often with a strip of metal at its centre. Leaves and moss collect in it. Because of the volume of water, a defect in a valley shows up inside the house quickly.

The table below lists the common kinds and what an inspection looks for in each.

What an inspector looks for

We clear the channel first, since you cannot see a crack under a drift of moss. Then we look at the metal for splits, thin patches, nail holes where someone has fixed through it, and corrosion. We check the edges of the covering for cut pieces that have slipped, and the line of the valley for sagging. A soaker, a small piece of metal woven between courses at a joint, can slip out of place and let water through the join, so we note any that are visible. From the loft, we look at the timber under the valley for stained or soft boards.

A valley gutter between two parallel roofs, common on double-pile town houses, is a level channel in lead, not a sloping valley. Trust casework on Grade I 33 St James's Square backed re-leading both its central and side valley gutters. These gutters fail like parapet gutters: lead cracks, outlets block and the boards beneath rot. They are difficult to see from below and are best checked from a ladder or by camera.

Reading the signs inside

A stain on a ceiling that follows the line of a valley points straight to it. The same stain after heavy rain and not after light rain suggests a blocked outlet or overflow, not a split. A report should record the stain, the pattern and the rain conditions if the owner knows them. The cause may be a tile gap, a metal crack, or a blocked channel, and the fixes are different.

Lead has limits on how long a single length can run before it needs a step or a joint, because the metal grows and shrinks with temperature. A long unbroken run tends to crack along a fold. Where a lead valley or gutter looks long, we look for the joints and drips, and note where a crack has formed beside one.

Valley types and what an inspector notes

ValleyWhere it is foundWhat shows a fault
Open leadSlate roofs, with the covering cut backSplits, nail holes, moss and debris in the channel
Valley tileTiled roofs on newer housesCracked tiles and gaps at the cut edges
Mitred or lacedOlder slate roofsSlipped soakers and loose short slates
Valley gutterBetween two parallel roofsBlocked outlet, cracked lead, damp boards underneath
Flat-roof junctionWhere a flat roof meets a pitchLifted upstand and failed edge trim

When a valley fault is found, slate roofing describes how slate valleys are formed and rebuilt. Our roof inspection checklist lists the other places we look, and inspection after a storm covers what to do once the weather has passed.

Part 4 of 6

Gutters

Gutters carry the roof's water away from the walls, and their failure shows up first in the stonework.

Gutters are the part of the roof drainage that most people can see, and the part most likely to be neglected. An eaves gutter is a channel at the bottom of the slope that collects water and passes it to the downpipe. A parapet gutter, also called a box gutter, is a lead-lined channel behind a parapet wall, often hidden from the street and with its own outlets through the wall. Bath's terraced houses depend on these hidden channels, and when one fails water enters the wall and roof timbers behind the parapet.

What we look at

For eaves gutters we check the fall, which is the slight slope towards the outlet. A gutter that holds standing water has lost its fall, usually because a bracket has sagged. We look for cracked joints, split sections, rust on cast iron and brittleness in older plastic, along with brackets that have come loose. Overflow staining on the wall below a joint, or green growth that follows one run, tells us where the gutter spills. The downpipe is checked at the foot for blockage and at the joints for leaks.

For parapet and box gutters, we look at the lead for cracks at folds, splits along the drips, the steps in the gutter bed that let water fall, and the outlets. A blocked outlet fills the gutter and the water rises over the lead upstand into the wall. Photographs of the outlet before and after clearing show what was found. Where a box gutter cannot be reached safely, a pole camera or a drone gives a view of the lead from above.

Why drainage failure damages more than the gutter

Spilled water runs down stone, soaks timber at the eaves and softens the ends of rafters and the wall plate. The rot may stay hidden until the roof edge sags. A gutter report, therefore, includes a note on what the water has done below, not just the gutter itself. When we find damp stonework, we trace it back to its source before saying what should be done.

Material changes what a fault means. Cast iron often outlasts plastic but corrodes at joints and bolts. Plastic cracks as it ages, turns brittle in sunlight and sags between brackets. Aluminium sits between the two. We note the material of each run, because it shapes how a fault would be mended.

Clear before condemning

Clear a gutter and photograph it before deciding it needs replacing, since a blockage is often the whole fault.

If the inspection finds a gutter at fault, for repairs to eaves runs see gutters, soffits and fascias, and lead roofing deals with parapet and box gutters. For the order in which we work, inspecting a roof from the ground shows what you can safely spot yourself.

Part 5 of 6

The loft

The underside of the roof shows what the outside hides: daylight, damp, tired timber and failing underlay.

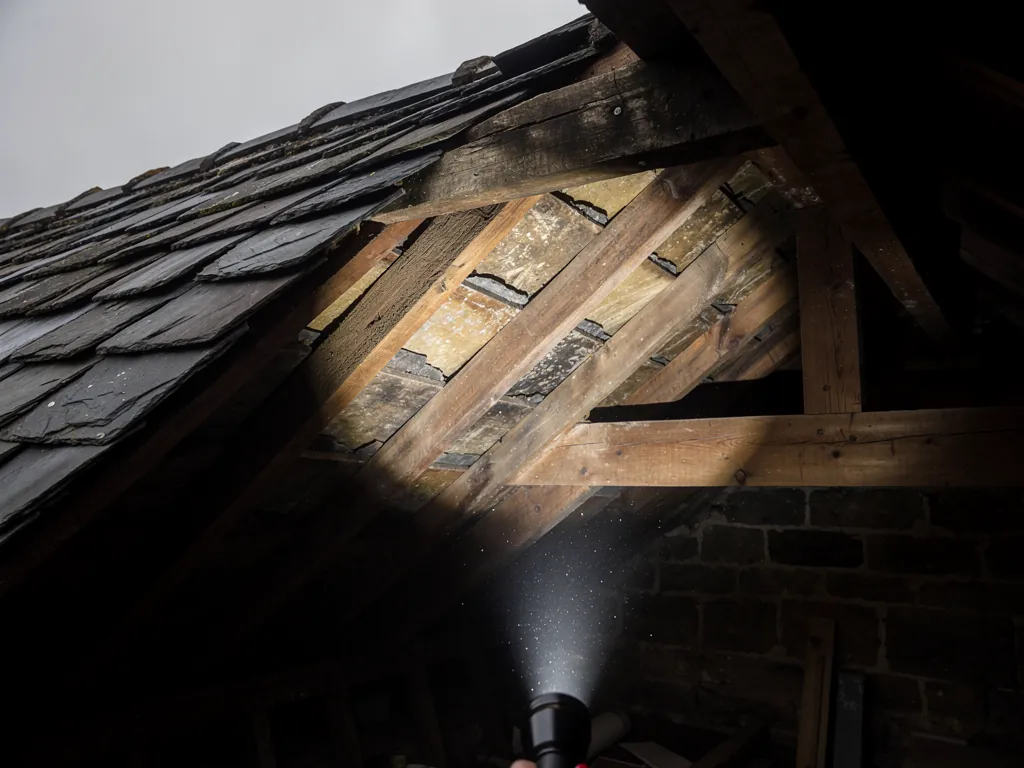
The loft is where a roof tells its truth. From outside, a slate roof can look uniform, but from underneath you see daylight through gaps, the state of the battens and underlay, and the condition of the timbers. We go into the loft with a torch and a moisture meter, the instrument that reads how damp wood is, and we work along the boards, taking care not to step between joists onto the ceiling below.

What we look for

Rafters, purlins (the horizontal timbers that support the rafters) and the wall plate (the timber that runs along the top of the wall) are checked for wetness, rot and insect damage. Dark patches around a chimney breast or valley suggest repeated wetting. Pinpoints of daylight show gaps in the covering, though some roofs are designed with small gaps for ventilation. The underlay, a membrane laid beneath the battens, may be torn, brittle or sagging between rafters. On older roofs there may be none, with the underside of the slates pointed with lime instead, a method called torching.

Insulation is noted as well. Compressed or missing insulation raises heating costs, but it is the way it sits against the roof that matters for the structure. If it is packed hard against the eaves, it can block the airflow that keeps the timbers dry. If foam has been sprayed onto the underside of the roof, the timbers behind it cannot be seen. The RICS consumer guide cautions about uncontrolled condensation and tells owners to ask their mortgage provider whether its lender policy allows foam. We record it in the report and leave the judgement to you.

Condensation or a leak

Moisture in a loft is not always a leak. Warm, damp air from the house rises into a cold roof space and condenses on the coldest surfaces, which leaves droplets on the underlay and nails. A leak leaves a track, with staining that follows the line of the water. We look for both and say which we think it is.

We also look along each gable and party wall from inside, since wind-driven rain most often works in at those joints. A line of light along a wall plate, or a hairline gap between purlin and rafter, is recorded with its position, so anyone repairing it can go straight to the spot.

Bats and nesting birds have legal protection, so if we see signs of either we stop and tell you before anything else happens.

The loft roof inspection guide describes what a safe loft visit involves, and a roof nearing the end of its life explains the signs of age. For pre-sale work, pre-purchase roof surveys puts the loft findings into a buyer's context.

Part 6 of 6

Flashings

Wherever the roof meets a wall, a chimney or a window, a strip of metal is keeping the water out.

A flashing is a narrow run of lead or aluminium sheet that seals the junction between the roof and something rising through it or beside it. There are flashings at chimneys, at party walls between houses, at the foot of a wall where a lean-to meets the main house, at dormer cheeks and round roof windows. They are the most complex part of a roof to form, and they fail more often than the covering around them.

The types we see

A step flashing follows the slope up a wall, with each step tucked into a mortar joint. An apron is a wide flashing at the lower edge of a chimney or window, lapping over the covering. A cover flashing hangs over the top edge of another piece of metal to shed water onto it. A soaker is a bent metal piece interleaved with the covering at a joint. An abutment is where the roof meets a wall at the side. Where flashings are pushed into the wall, the groove they sit in is called a chase, and it is filled with mortar or sealed to hold the lead in.

What goes wrong

Lead cracks where it has been folded too tightly or fixed so firmly that it cannot move with the heat. Lifted edges let wind blow rain under the metal. Mortar in the chase shrinks and falls out, and the lead drops away from the wall. Old sealant that has hardened and split is common, and so is a repair done in bitumen sealant, which only covers the problem. We note what the flashing is made of, but we do not state a lead code here, as the thickness of a given piece cannot be judged by eye.

Flashings and neighbours

In a terrace, the flashing at a party wall often serves two houses, and a fault may start on a neighbour's side. When a neighbour is doing building work next door, the junction between the roofs can be disturbed. A record of the flashings before work begins is useful for both parties.

A flashing report names each one by location, such as left side of the rear chimney, with a photograph and a note of its condition. We do not mark one as fine unless we have seen its upper edge and the chase.

Words you will hear

Flashing
A strip of metal sealing the join between a roof and a wall, chimney or window.
Soaker
A small piece of metal woven between courses of slates or tiles at a joint.
Chase
A slot cut in the wall to receive the upper edge of a flashing.
Apron
A wide flashing at the lower edge of a chimney or window, lapping over the covering.
Abutment
Where a slope ends against a wall running up beside it.

Our guides to historic roof surveys and roof checks when a neighbour is building look at flashings in more detail. For landlords, landlord roof inspections set out how findings are recorded, and surveys for a block of flats does the same for shared roofs.

Typical costs

What roof inspections typically cost

The ranges here are typical UK figures from the MyBuilder roof inspection cost guide (2026). The type of inspection, the depth of the report, and the size and access of the roof decide where a job sits in them.

JobTypical UK range
Roof inspection, all types£150 to £500
Standard roof inspection£150 to £250
Drone roof inspection£200 to £400
Thermal roof inspection£300 to £500

Treat these as guide figures from elsewhere, not our prices. We agree a fixed written price before the inspection begins, once we know the roof type, how it is reached and what the report needs to cover.

Questions

Roof inspections in Bath: what owners and buyers ask first

My homebuyer report says the roof could not be seen properly. Is a separate inspection worth it?

Often, yes. A report written from the ground can only record what is visible from there. A close inspection with a pole camera or drone, and a visit to the loft, gives you photographs and a written account of the ridge, valleys, flashings and timbers before you commit to the purchase.

Can a drone replace a person going onto the roof?

For many roofs it gives enough, and for steep, tall or brittle ones it is the safer choice. It cannot lift a slate, tap a ridge tile or see the underside. Where the roof can be walked safely, we combine the aerial images with a hands-on check and a look from the loft.

What should a written roof report contain?

Photographs matched to a location on the roof, a short description of each fault, a note of what could not be seen, and a view on which items are urgent. It should also say what the inspection method was. A report that only says the roof is fine, with no pictures, tells you very little.

Who is responsible for the roof of a let property or a block of flats?

That depends on the lease or tenancy agreement, so check the wording or ask your managing agent or solicitor. An inspection report establishes the condition of the roof, with photographs and dates, which is useful evidence whoever is responsible. We record findings and do not give legal advice.

Can a roof inspection find a leak that has not yet reached the ceiling?

Sometimes. In the loft, a damp batten, a wet patch on the underlay or a dark track down a rafter can show water entering before any stain appears below. A moisture meter helps to separate current dampness from an old mark. Not every leak leaves such a trace.

Is a roof inspection different on a listed or period house in Bath?

The method is the same, though the report pays more attention to original materials, lime mortar, lead and the roof's history. Altering a listed building requires B&NES consent, so an inspection makes a useful first record before anyone proposes work. The report describes the roof as found and does not recommend consent.

Book a roof inspection

Tell us the address, the roof type and why you want it checked, whether that is a purchase, a tenancy or a block, and reach us through WhatsApp, the enquiry form or the number 01225 285181. We will agree the method, carry out the inspection and send you a written report with photographs.

Get a free survey

Get your free survey

Get your free roof survey

Tell us what's happening and we'll call you back to arrange a visit. Prefer to talk? Call 01225 285181.

  • Photos of your own roof
  • A fixed price in writing
  • 10-year workmanship guarantee
Call Free survey