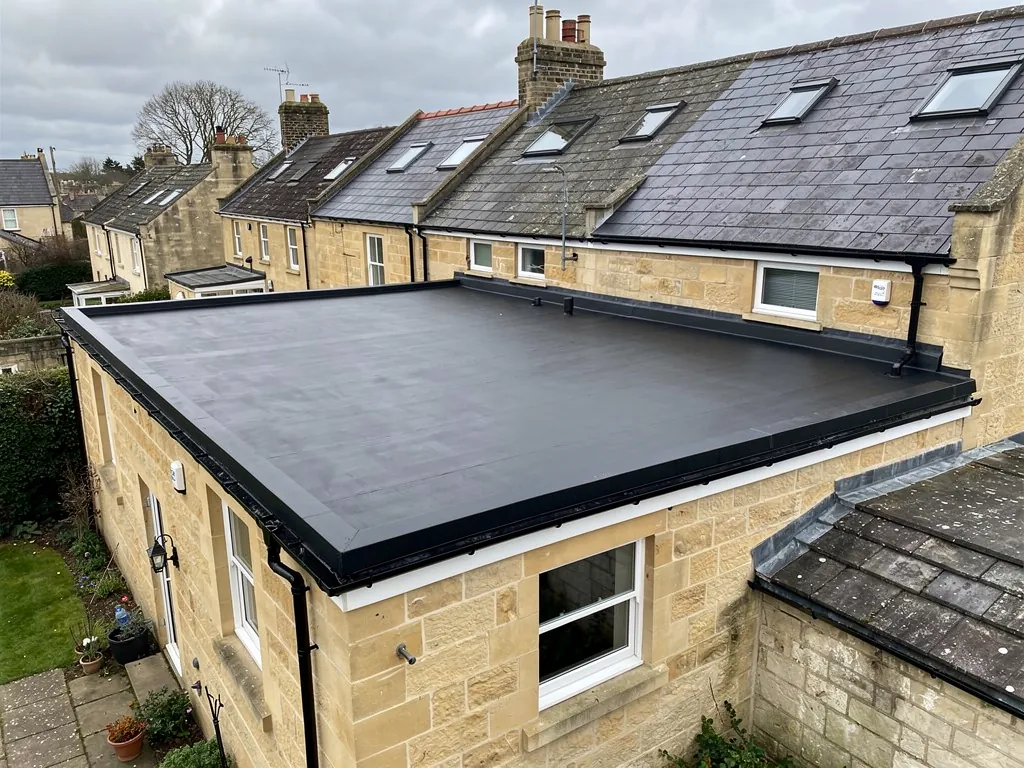
The short answer
A flat roof usually leaks at a detail, not across the open surface. The common entry points are a split or lifted upstand where the roof meets a wall, a blocked or badly sealed outlet, a loose edge trim, a failed rooflight seal and a crack or open lap in the covering. Standing water makes all of them worse. Condensation can look like a leak.
Why the stain is not where the hole is
Water that gets under a flat roof covering does not fall straight down. It creeps over the deck along the lowest line until it reaches a board joint, a fixing hole or a ceiling edge. It may enter at one end of a room and drip from the other.
This is why guessing from a stain misleads, and why re-sealing the roof directly above a patch of damp often fails. The sensible approach is to work upslope and outward from the stain, checking every detail along the way.
When a roof is wet, make the area safe first. Move belongings, catch drips in a bucket and put a bowl under any bulge in the ceiling. A ceiling bulging with trapped water is a collapse risk, so release it carefully at the lowest point into a bucket while standing clear. Leaks are a priority for us and stopping the water comes first, so call 01225 285181 or message us on WhatsApp.
Upstands and flashings at walls
This is the commonest weak spot. An upstand is the short upward turn of the covering at a wall. Above it sits a flashing, a band of lead or other sheet metal that throws water clear of the top edge. If either fails, water runs behind the covering.
The faults are consistent: an upstand that is too low and gets overtopped by rainwater, lead that has lifted or split at a corner, mortar above the flashing that has crumbled, or a sealant bead that has dried, shrunk and parted. A raised stone or brick wall is also porous, so water can travel through the masonry above a poor flashing and appear lower down.
On older buildings in Bath the wall detail is often lead let into the stonework, and the repair is a matter of re-dressing or replacing the lead and repointing. Lead is supplied in codes by thickness, and the code to use depends on the position, so it is a point to settle on site.
Outlets, gutters and trims
Outlets are the second group. A roof outlet or drainage point is where the water leaves. A blocked outlet lets water bank up until it finds the nearest weak joint. If the joint between the outlet and the covering was never properly made, water can creep around its edges every time the roof drains.
In a box gutter, the lined channel at a parapet foot or between two roofs, leaks often start at a seam, an end stop or a corner where the lining has been stretched. Our page on the warm and cold deck build-up explains why water that enters at these places can stay trapped.
Edge trims are the third. A drip trim at the fall edge carries water into the gutter. If it has dropped, been knocked loose or was fixed with the covering poorly dressed over it, water tracks back beneath the roof edge into the fascia, and the timber there rots. A leak that shows at the eaves in the soffit, rather than in the ceiling, is usually a trim problem.
Splits, blisters, punctures and open laps
The open surface leaks less often than the details, but it does leak. The covering and its failure modes differ.
- Felt: splits where the roof has moved, blisters that have burst, and laps that have opened where the layers were poorly sealed.
- EPDM: punctures from a dropped tool, a falling branch or heavy footfall, and tears at corners under tension.
- GRP: hairline cracks along deck joints and at edges, where timber movement has cracked the rigid skin.
- Lead and zinc: cracking at seams caused by thermal movement, or pinholes from corrosion.
Rooflights deserve a separate mention. The kerb, the upstand around a rooflight, is a detail like any other, and so is the seal between the glass and the frame. A cracked pane or a perished gasket is an easy cause to miss.
Standing water makes each of these worse. For that, see our page on ponding.
When it is not a leak at all
Condensation can mimic a leak. Warm, moist air from a kitchen or bathroom rises into the roof void, meets a cold surface and turns to water. In a cold deck roof, where air moves above the insulation, a failure of ventilation or a missing vapour control layer lets moisture collect on the underside of the deck. It drips, stains the ceiling and grows mould, with no hole in the covering at all.
The pattern gives it away. A true leak appears soon after rain and often in one place. Condensation tends to appear in cold spells, over a wider area and without any link to rainfall.
The distinction matters because the fix is different. Sealing a roof does nothing for condensation, which needs better ventilation, a vapour control layer or different insulation. A survey can tell the two apart, and sometimes both are present at once.
What happens next
A leak survey follows the water. We trace the stain upslope, check each detail, look at the deck where we can and, where it helps, ask you what the weather was doing when the leak began. Once we have surveyed, the repair is priced as a fixed sum and put in writing.
Winter conditions can affect how and when a repair can be made. Our page on laying a flat roof in cold or wet weather explains what can be done in the short term. If repairs on an older roof keep failing, see the page on repair or replace. The wider range of work is listed on our flat roofing service page.