The short answer
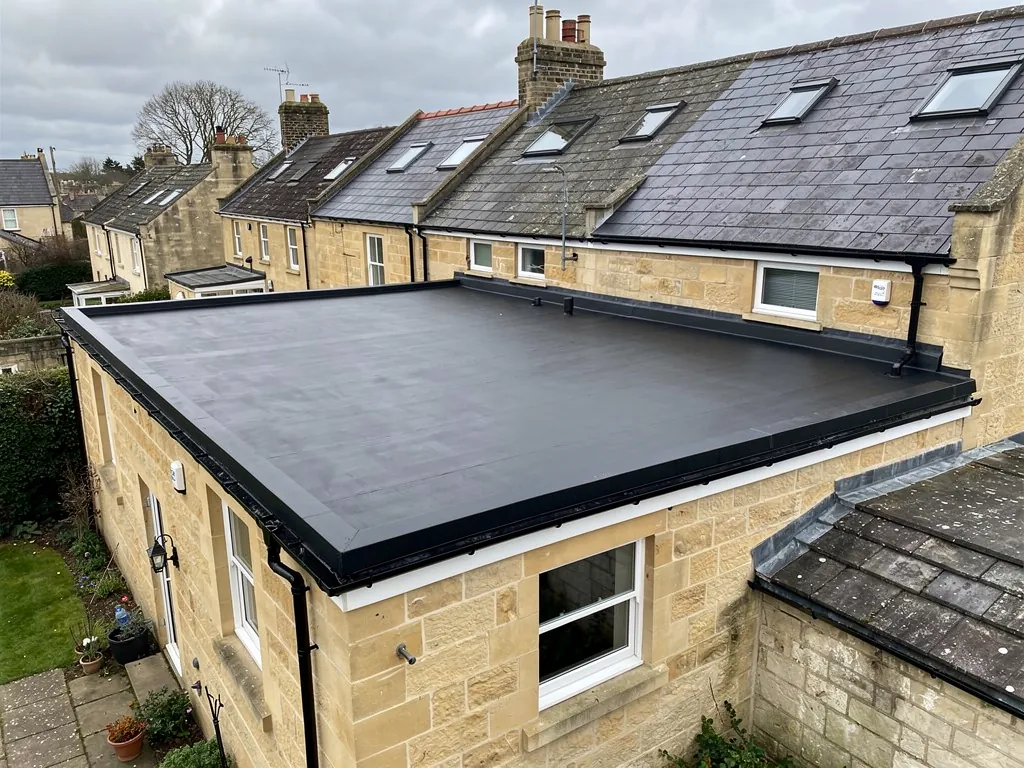
The flat roof on a dormer is replaced by stripping the old covering, repairing the deck and its fall, then laying a new membrane such as EPDM, GRP or lead, turned up at every edge. The side cheeks are re-leaded or clad, and the junction with the main roof is flashed. The detail at the edges and where the dormer meets the slope matters more than the flat area.
Why a dormer roof leaks where it does
A dormer is a small structure stuck onto the side of a main roof, and a flat-topped one has a small flat roof of its own. That roof is often only a few square metres, but it has more edges for its size than almost any other. It meets the main slope at the back, has a cheek on each side, and runs out over the front face where the window sits.
Each of those edges is a junction between two different materials. Water finds the weakest one. The back of the dormer roof, where it tucks against the main slope, often relies on a lead or felt apron that can lift or crack. The cheeks are the two side walls of the dormer, and they are clad in lead, tile hanging or timber, and a split in their cladding lets water behind. At the front the covering can be cut short or poorly lapped, so wind-driven rain gets under it.
Condensation and long-term damp can also soften the timber deck, which is often thin, so a dormer that has leaked for some time needs the deck checked, not just the top surface.
How the work goes, from strip to finish
The sequence is the same whatever covering is chosen, and each stage needs the one before it done properly.
- Access and protection. Dormers are high and awkward, so scaffold or a safe working platform is set up first. The room below is protected, because opening a roof in rain is an obvious risk.
- Strip. The old covering comes off, along with any old flashing at the back and sides. We look for rot as soon as the deck is bare.
- Deck and fall. Any soft or rotten boards come out and new ones are fixed. The fall is checked, since BS 6229-based guidance recommends a minimum of 1:80, with designs aiming for 1:40, and a dormer that sits dead flat holds water.
- Insulation and vapour control. If the dormer contains a habitable room, the roof is part of the thermal envelope and the build-up is set out accordingly.
- Membrane. The new covering is laid and turned up at the back and sides, then dressed over the front edge.
- Junctions. The cheeks, the back flashing and the front trim are finished and sealed.
The order matters. Cladding the cheeks after the membrane is laid, rather than before, leaves a weak point at every corner.
Choosing the covering
The usual choices are EPDM rubber, GRP fibreglass, torch-on felt and lead sheet. On a dormer, the covering has to cope with small awkward shapes, so the ability to form neat corners counts for more than headline life.
EPDM goes down as one sheet and turns up the sides cleanly, with sources putting its life at 20 to 30 years or more. GRP is cured in place, forms a continuous skin and has moulded trims for the edges, with typical figures around 25 to 40 years. Torch-on felt is lower in cost but relies on neat laps, and commonly lasts 10 to 20 years. Lead is the traditional covering for the cheeks and often for the roof itself, and well-laid lead is reported to last for 50 years or more.
On an older house, or one in a conservation area, the dormer is often seen from the street. Matching the original material, such as lead on the cheeks and a dark, matt finish on the flat, usually gives the best result for appearance and life. Our guide on how long a flat roof takes to replace sets out how the work is sequenced on a larger roof.
The lead, the cheeks and the edge details
Much of a dormer re-roof is leadwork. Lead is ordered by code, a number that corresponds to its thickness. Royston Lead lists code 4 (1.80 mm) for soakers, flashings, pitched valleys and dormers, and code 5 (2.24 mm) for flashings, valleys and dormers as well. A soaker is a folded lead tab that sits under the roof covering at a junction, while a flashing is dressed over the joint so that water runs off it.
The cheeks are usually covered in lead, in pieces kept short enough to move with temperature changes. The brochure figure for flashings is a maximum piece length of 1500 mm, and a cover flashing is wedged into a wall at points no more than 500 mm apart. Where the dormer meets the main slope, soakers go in with each slate or tile course, and the front is finished with a lead or metal trim and a drip.
None of this is difficult, but it is slow, and each piece has to be cut, folded and dressed by hand. On a small dormer the leadwork can take longer than the flat roof itself. That is also why a repair that only patches the membrane so often fails. The water was coming in through a cheek or a back flashing, and the patch never touched it.
Regulations, consent and the next step
Replacing a dormer flat roof is normally a re-covering job. Approval under the Building Regulations is not normally needed when the work touches less than 25 per cent of the building envelope and less than 50 per cent of the roof, though replacing the dormer roof in a way that makes the covering 15 per cent heavier or more does need approval. If the dormer contains a habitable room, the roof may also have to meet thermal standards under Part L. How that works in practice is covered in our page on flat roof regulations.
Where the house is listed, the dormer lies in a conservation area, or the dormer is part of a mansard, speak to B&NES planning before any work starts, because listed building consent is separate from planning permission. We explain what consent applies, and for notifiable work we take care of the Building Regulations application.
Before any decision, we look at the roof, take photographs and give a written fixed price. Note how water leaves the dormer roof, whether over an edge trim into a gutter or through an outlet, since a poor drainage detail is often what a new covering has to fix. If your dormer is attached to a shed-like or lean-to area, our answer on re-felting a small roof covers the basic principles. For the wider options, start from our flat roofing hub.