
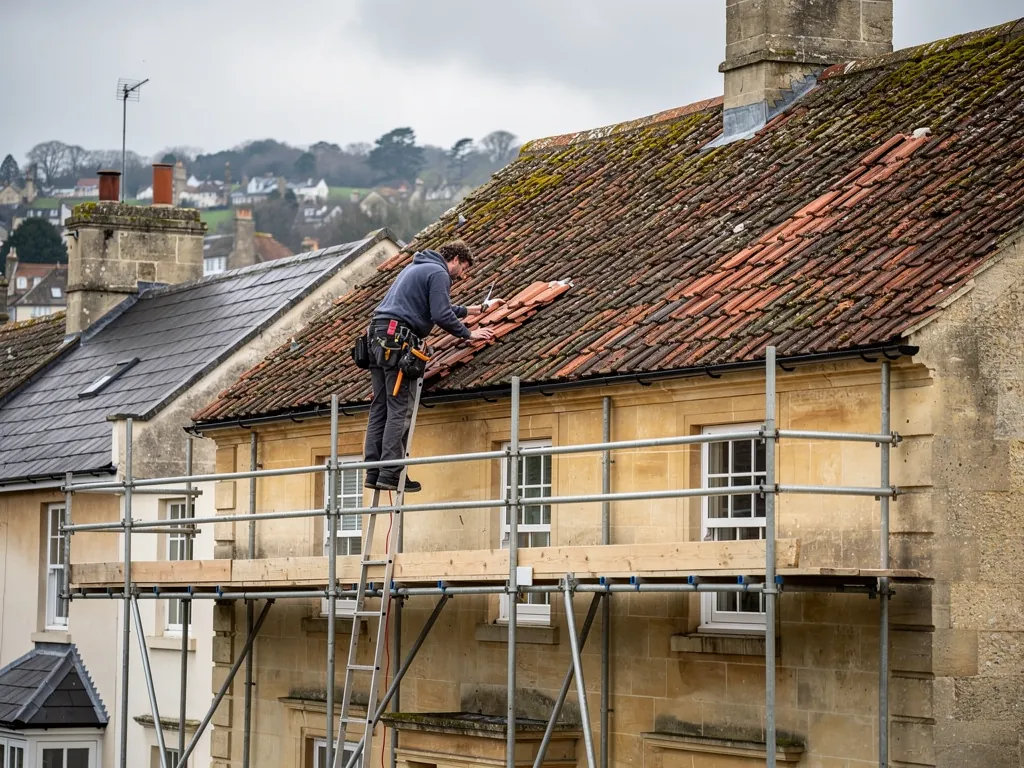
Damp rafters and a dripping underlay are among the most misread problems in a pitched roof. The owner sees water, assumes a leak, and calls a roofer to find the broken tile. Sometimes the tile is broken. Just as often the roof covering is sound and the water has come from inside the house. Warm, damp air rises into the loft, meets cold surfaces under the tiles, and turns back into water. This guide explains how to tell condensation from a leak, where the moisture comes from, what a roof needs to let it escape, and how ventilation, vapour control and membranes work together. It covers pitched roofs with a loft space above the ceiling. The aim is to help you describe the problem accurately, so that the fix addresses the cause and does not just dry the stain. For the wider subject of how a pitched roof is built, our pitched roof guide is a good companion, and the pitched roofing service page lists the repairs we carry out.
Condensation or a leak: how to tell
The two look alike from below, and the difference matters because the remedies are unrelated. Replacing tiles will not stop condensation, and adding vents will not stop a leak through a split lead valley.
Several clues separate them. A leak follows the weather: it appears during or just after rain, it is worst in a particular place, and it stops when the roof dries. Condensation follows temperature and use of the house. It tends to show in cold spells, after a day when the house was heated and cooking and washing went on, and it clears slowly when the weather warms. A leak usually leaves a defined stain on the ceiling or around a chimney or valley. Condensation tends to be widespread, with beads of water or frost on the underside of the underlay, dark mould on the rafters, and nails that glisten or rust.
Take a torch up the hatch and study the timbers. Wet patches that run along a rafter from a single point suggest a leak. Water spread evenly across the underlay, mould on the north-facing slope and damp insulation suggest condensation. The two can also happen together: a small leak is easy to hide inside general dampness. If you are unsure, photographs taken in dry weather, then again after rain, will help whoever inspects the roof.
Slipped tiles do cause real leaks, and if you have found one, our answer on slipped tiles and insurance explains what to record before repairs begin. The point of this section is only that a wet loft is not proof of a broken roof.
Where the moisture comes from
Air always carries some water vapour, and warm air carries more than cold air. A house produces a great deal of vapour. People breathe it out. Cooking, bathing, drying washing indoors and running unvented heaters all add more. That vapour spreads through the building, and because warm air rises, a share of it drifts upwards towards the loft.
The routes it takes are usually small: gaps around the loft hatch, holes where pipes and cables pass through the ceiling, recessed downlights, the tops of stud walls and the gap round a chimney breast. Each is a path from the humid rooms below into the cold space above. Bathroom and kitchen extractor fans that vent into the loft, not outside, put the vapour directly where it does damage.
When that vapour reaches a cold surface, it condenses. The coldest surfaces in a pitched roof are the tiles' inner face, the underlay, and the timbers close to the eaves. In winter, those surfaces sit below the dew point of the air in the loft, and water forms. If it forms faster than it can dry, the underlay drips, the timber stays wet, and mould follows.
Modern houses are built tighter than old ones, and draught-proofing and double glazing have reduced the natural airflow that once carried vapour out. An older house that has been made airtight without improving its ventilation can suddenly develop condensation in a roof that was dry for generations. That is not a fault of the roof. It is a change in how the building breathes.
Ventilation: how air carries moisture out
The basic cure for condensation in a cold loft is airflow. If air moves across the roof space, it picks up moisture before it condenses and carries it outside. A pitched roof with a cold loft is designed to have air entering at the eaves and leaving at or near the ridge, so that a gentle cross-flow passes through the space.
Eaves ventilation
The eaves are where the roof projects past the face of the wall at its lower edge. Vents in the soffit, the boarding that shuts in the underside of that projection, or special tile or fascia vents let air in. The common fault is not the absence of vents but their blockage. Loft insulation pushed hard into the eaves, a layer of old paint over a vent grille, or a bird guard clogged with debris all stop the air at the point where it should enter. A rafter tray or a ventilation tray fitted at the eaves keeps a clear channel above the insulation. In Marley's reading of BS 5250, a cold roof under a non-breathable underlay, insulated at ceiling level, wants a continuous 25 mm gap at the eaves up to 15 degrees of pitch, and 10 mm on anything steeper.
Ridge and high-level ventilation
Air leaves through vents at or near the ridge, the horizontal line where the two slopes meet. Dry-ridge systems, ridge vents, high-level tile vents and gable-end louvres all serve this purpose. High and low vents together create a flow driven by wind and by warm air rising. Vents at only one level do far less. Marley adds a continuous 5 mm at high level once the pitch passes 35 degrees or the span 10 m, and on every lean-to or mono-pitch roof.
What you can check yourself
From inside the loft, look for a visible gap between the insulation and the underside of the roof at the eaves. From outside, look for soffit grilles that are clear. If you cannot find any ventilation at all, the roof is probably relying on gaps in the tiles, and a condensation problem is more likely once the loft is insulated.
Our short answer on membranes and ventilation covers the question of how much airflow a roof needs when it has a breathable underlay, since some designs ventilate differently. With a breathable underlay the answer depends on how tight the ceiling is and how much air the covering lets through. Marley's example, a well-sealed ceiling below an air-permeable covering, needs only 3 mm at the eaves (subject to UKAS third-party certification) or 5 mm high up.
Vapour control and breathable membranes
Ventilation is only one of two lines of defence. The other is to stop vapour reaching the loft in the first place, and to let any vapour that does arrive pass through the roof structure.
Stopping vapour at the ceiling
A well-sealed ceiling is the best protection. Seal the loft hatch with a compressible strip, fit a proper insulated hatch, seal gaps around pipes, cables and light fittings, and make sure the extractor fans are ducted to the outside, with the duct run insulated so it does not drip. Where a roof is being opened, a vapour control layer, which is a sheet kept on the heated side of the insulation, can be fitted beneath the ceiling plasterboard.
Underlay: breathable and non-breathable
The underlay is the membrane laid under the battens. Older roofs often have bitumen felt, which is not breathable. It stops water getting in, but it also stops vapour getting out, so moisture can only leave through ventilation. A breathable underlay, also called a vapour-permeable membrane, lets vapour pass through while still keeping water out. On many roofs that makes a real difference, because it gives the moisture a second route out. Our page on the roof underlay guide compares the types.
Breathable underlay is not a substitute for dealing with the source. If vapour is pouring into the loft at the ceiling, a breathable membrane may cope for a time, but a damp insulated loft will still be unhealthy for the timbers. Think of the membrane as a safety valve, not a cure.
Fitting matters
An underlay that sags in the batten gap holds water in a pocket, and one that touches the insulation can lose its air gap. We fit the membrane the way the maker specifies, with a clear space to ventilate beneath.
Insulation, conversions and spray foam
Insulation is meant to keep heat in, but it also changes where condensation happens. Adding insulation at ceiling level makes the loft colder, so more surfaces fall below the dew point. That is why insulating a loft should always be paired with a check on ventilation. A thick layer of insulation that blocks the eaves can cause the very problem it was meant to avoid.
Loft conversions and rooms in the roof are a different design. Here the insulation sits in the rafters, and the roof is often a warm roof or a carefully detailed cold roof, with ventilation paths kept open above the insulation, or a vapour-permeable membrane and a tight vapour control layer below. Details at the eaves and ridge matter a great deal for the timbers, so they are worth checking with building control.
Spray foam has caused particular concern. Foam sprayed hard against the tiles or underlay can seal the roof space, stopping air moving across the timbers. The RICS consumer guide of March 2023 warns that foam can bring "uncontrolled condensation" and damage to the property, and advises: "Do check with your mortgage provider whether their lender policy allows the installation of such products". A BBC investigation reported on 20 November 2024 found some lenders refusing to lend against a home with it. If you have foam in your loft and see damp timbers, ask for the timbers to be assessed before anything is covered again.
Where roofs are re-covered, building control may ask for the roof insulation to be improved. That upgrade must be designed with ventilation and vapour in mind, so that new insulation does not create a condensation problem in the timbers. Our roof pitch and tile choice guide covers the other design variable that interacts with this: a shallow roof ventilates differently from a steep one.
Fixing a condensation problem step by step
The order in which you tackle condensation matters, because the cheapest steps often do the most.
- Reduce the vapour. Use extractor fans in the kitchen and bathroom, vented outside. Dry clothes outdoors or in a vented space, and keep doors closed when cooking or showering.
- Seal the ceiling. Close the gaps at the hatch, around pipes and cables, and above stud walls.
- Clear the eaves. Pull insulation back from the eaves, fit ventilation trays if needed, and clean any blocked grilles or soffit vents.
- Add high-level ventilation. If there is no way for air to leave at the ridge, fit a vent system suited to the roof.
- Check the underlay. A torn, sagging or perished underlay holds moisture. On a re-roof, a breathable membrane is the usual choice.
- Treat the timbers. Dry them out, and where decay has set in, repair or replace the affected timber. Mould on the surface can be cleaned, but rotted timber has lost strength.
We carry out the roof-side steps: eaves ventilation, ridge ventilation, underlay and timber repair. The survey includes photographs of your own loft and roof, so you can see where moisture is collecting and what the proposed fix is. We repair where a repair is enough, and a firm written price follows, and our ten-year written guarantee covers the workmanship.
One caution: fitting a vent will not cure a house that produces vapour faster than it can escape. If the source stays unchecked, the problem moves. The most durable fix tackles the house and the roof together, and a good survey looks at both.